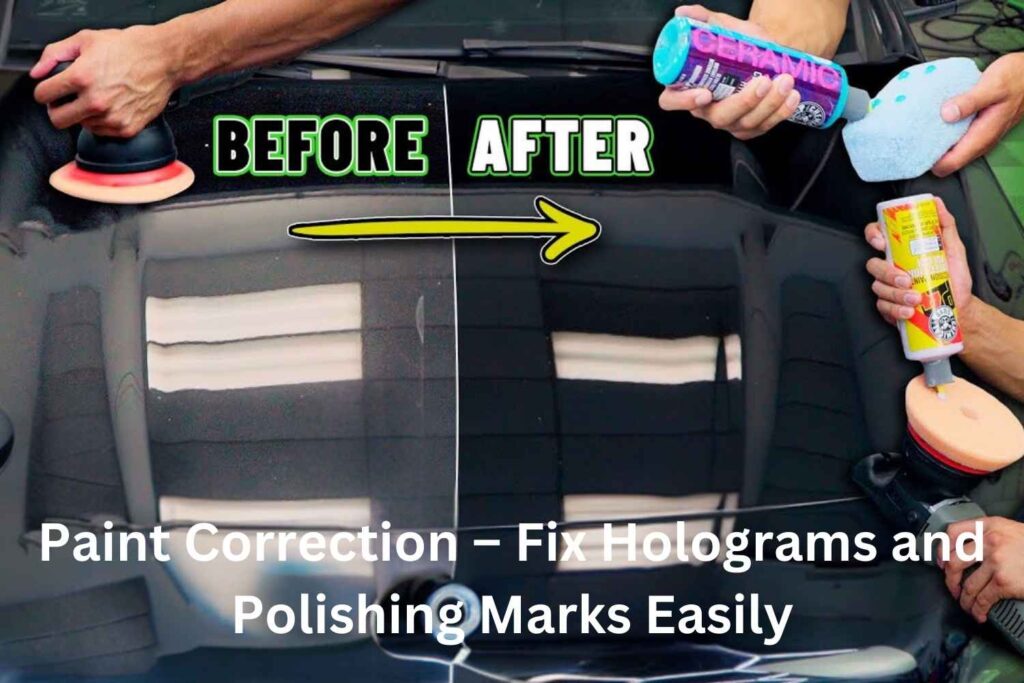
Have you ever noticed scratches or swirl marks dulling the shine of your car’s paint? These imperfections not only ruin the look but can also reduce the value of your vehicle. Paint correction offers a way to bring back that showroom shine, even for beginners. It’s not as hard as it sounds—when you know the right tools and steps.
In this blog, you’ll learn everything you need to get started with paint correction for beginners. From understanding the basics to step-by-step guidance, we’ll cover tips, tools, and techniques that make the process simple and rewarding. By the end, you’ll have the confidence to remove imperfections and restore your car’s glossy finish like a pro. Let’s get started!
What is Paint Correction? A Beginner’s Guide to Fixing Car Paint
Paint correction means fixing the top layer of your car’s paint. It removes problems like swirl marks, scratches, and oxidation that catch light and make the surface look uneven. These issues usually happen because of washing, weather, or just regular use.
The process does not involve adding new paint. It smooths the clear coat, which is the outermost layer of the car’s paint. The goal is to make the surface flat so light reflects evenly. This is what brings back the glossy look.
Many beginners find paint correction confusing at first. The terms and tools might seem complicated, but the process becomes simple with practice. It is a great way to protect your car and make it look fresh again.
Doing paint correction is not just about looks. Fixing paint problems prevents bigger issues, like rust, that can develop from damaged areas. Paint correction for beginners starts with understanding the problem. Once you can spot the imperfections, you are ready to fix them.
Essential Tools and Materials for Paint Correction for Beginners
Paint correction for beginners needs the right tools. The process is much easier when you have the right equipment and products. Here are the basic tools you will need:
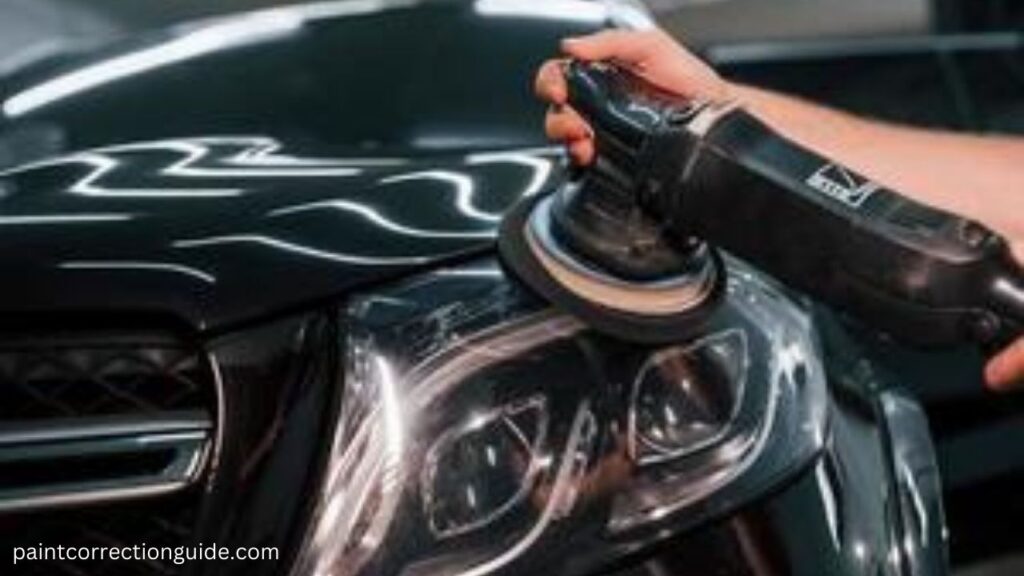
- Dual-Action Polisher: This tool removes scratches and swirl marks. It is easy to control and works well for beginners.
- Polishing Pads: These pads attach to the polisher. Each type of pad does a specific job. Cutting pads work for deeper scratches while polishing pads handle lighter imperfections.
- Compounds and Polishes: These products help smooth the paint. Compounds fix deep issues, while polishes create a shiny finish.
- Clay Bar or Clay Mitt: This tool removes dirt and grime stuck to the surface. It cleans the paint before polishing.
- Microfiber Towels: These towels are soft and prevent new scratches. Use them to wipe the surface during the process.
- Masking Tape: Use this to cover parts of the car you do not want to polish, like trims and emblems.
Safety gear is important too. Gloves protect your hands from chemicals. Safety glasses keep your eyes safe. Beginners should always start with a simple setup. Buying high-quality tools makes the job easier and gives better results.
The right tools make a big difference. With these items, paint correction for beginners becomes a manageable task. Each tool helps fix imperfections and restore the car’s original shine.
How to Prepare Your Car for Paint Correction

Preparation is an important step in paint correction for beginners. Skipping this can lead to poor results. A clean and ready surface makes the process much easier and safer. Follow these steps to prepare your car:
- Wash the Car
Use a car shampoo and a soft sponge. This removes dirt, dust, and other surface contaminants. Rinse the car well and let it dry completely. - Decontaminate the Paint
Use a clay bar or clay mitt to clean the surface deeply. This step removes stuck particles like tar, tree sap, and industrial fallout. These are hard to remove with just washing. Spray a clay lubricant on the car’s surface and glide the clay bar gently. Wipe off any residue with a microfiber towel. - Inspect the Paint
Check for scratches, swirl marks, and dull spots under bright light. This helps you understand which areas need more attention. Beginners often find this step helpful in deciding where to start. - Mask Sensitive Areas
Use masking tape to cover parts like trims, emblems, and rubber seals. These areas can get damaged during polishing. Masking ensures you do not accidentally polish or harm these parts.
Preparation saves time later. It also protects the car and ensures the results last longer. Beginners often skip this step, but it makes paint correction much easier and more effective.
Step-by-Step Paint Correction Process for Beginners

Paint correction for beginners becomes simple with a clear process. Follow these steps to fix imperfections and make your car shine again.
Step 1: Assess the Paint Condition
Check the surface carefully. Look for scratches, swirl marks, and dull areas. Use a bright light or sunlight to spot these problems. This helps you decide which areas need deeper work and which need light polishing.
Step 2: Pick the Right Products
Start with a compound for deeper scratches and heavier imperfections. Use a polish for lighter marks and to add shine. Check product labels to match them with your car’s paint condition. Beginners often find it helpful to test on a small, hidden spot before starting.
Step 3: Attach the Right Pad
Use a cutting pad with the compound for heavy imperfections. Switch to a polishing pad when using a polish. Attach the pad securely to the dual-action polisher. Keep extra pads ready, as they can get dirty during use.
Step 4: Polish the Surface
Work on small sections of the car at a time. Apply a small amount of product to the pad. Place the polisher flat on the surface before turning it on. Move the polisher in straight lines or overlapping circles. Apply light pressure and keep the pad moving. This avoids heat buildup and damage.
Step 5: Wipe and Inspect
After polishing a section, wipe it with a clean microfiber towel. Check the surface under good light to see if imperfections are gone. Repeat polishing if needed. Beginners should take their time to avoid rushing this step.
Step 6: Repeat for the Entire Car
Move from one section to another. Start with the worst areas, then work on lighter imperfections. Change pads and products as needed for different sections.
Step 7: Final Inspection
Look at the car from different angles. Use a flashlight to check the surface for any remaining marks. Fix any spots that need more polishing.
This step-by-step process makes paint correction for beginners easy to follow. Taking your time and working section by section gives the best results. The car will look smooth and glossy for everyone to admire.
Mistakes Beginners Should Avoid During Paint Correction
Paint correction for beginners can feel overwhelming at first. Many mistakes happen because of inexperience or rushing the process. Avoiding these common errors makes the work easier and the results better.
Using Too Much Compound or Polish
Applying too much product wastes materials and makes cleanup harder. Start with a small amount. You can always add more if needed. Too much product also clogs the pad and reduces its effectiveness.
Skipping the Prep Steps
Skipping washing or claying leaves dirt on the surface. Polishing over dirt can create new scratches. Always prepare the surface carefully before starting paint correction. Beginners often make this mistake, but it is easy to fix with a little patience.
Using the Wrong Pad
Pads come in different types for a reason. A cutting pad works for deep scratches, while a polishing pad is for fine marks. Using the wrong pad can damage the paint or fail to fix the problem. Check your pad before each step.
Pressing Too Hard
Heavy pressure does not mean better results. Light and steady pressure gives smoother results. Pressing too hard can overheat the surface and damage the clear coat. Beginners should practice keeping an even hand while polishing.
Ignoring Pad Maintenance
Dirty pads spread old products and dirt back onto the car. This reduces effectiveness and can harm the paint. Switch pads often and clean them after use. Always start with a fresh pad for every new section.
Overworking the Paint
Working too long in one spot thins the clear coat. This can cause permanent damage. Move the polisher constantly to avoid overheating or over-thinning the surface. Beginners should focus on learning proper movement techniques.
Skipping Inspections
Always inspect your work after finishing a section. Missed imperfections are easier to fix right away than later. Use good lighting to check your progress throughout the process.
Avoiding these mistakes makes paint correction for beginners a smoother experience. Paying attention to these details ensures better results and protects the car’s paint.
Post-Correction Care: Protecting Your Work and Maintaining Shine
Paint correction for beginners does not end after polishing. Taking care of the surface ensures the results last longer. A few simple steps protect the paint and keep it looking shiny.
Apply a Protective Coating
Use wax, sealant, or ceramic coating to protect the paint. These products create a barrier between the surface and dirt, UV rays, and water. Wax works well for short-term protection. Sealants and ceramic coatings last longer and require less maintenance.
Clean the Car Regularly
Regular washing prevents dirt and grime from building up. Use a pH-balanced car shampoo to avoid damaging the coating. Wash the car every two weeks or as needed to keep the surface clean.
Avoid Harsh Chemicals
Strong cleaners can strip away protective coatings. Use gentle products made for car care. Avoid household detergents, as they can damage the clear coat and undo your work.
Dry Properly After Washing
Leaving water on the surface can cause water spots. Use a soft microfiber towel to dry the car completely. This prevents marks and keeps the surface smooth.
Inspect the Paint Often
Check the surface every month for new scratches or dull spots. Fix small issues quickly to prevent them from getting worse. Beginners who care for their car regularly find it easier to maintain a polished look.
Protecting the surface after paint correction is as important as the correction itself. These steps keep the car looking fresh and shiny for a long time. Beginners can enjoy the results of their work while ensuring their car stays in top condition.
Conclusion
Paint correction for beginners may seem challenging at first. With the right tools and steps, it becomes an easy process. The key is to take your time and follow each step carefully. Starting with preparation ensures a clean and safe surface. Using the correct tools and techniques removes scratches and brings back the shine.
Avoid common mistakes like using too much product or pressing too hard. Pay attention to small details, like inspecting your work under good lighting. After completing the correction, protect your hard work with a good coating. Regular care keeps your car looking polished for a long time.
Paint correction is not just about looks. It adds value to your car and helps prevent long-term damage. Beginners who practice this skill not only improve their car’s appearance but also learn an important part of car maintenance. The process is rewarding and gives results you can feel proud of.
Frequently Asked Questions (FAQs)
How often should I perform paint corrections on my car?
Perform paint correction only when needed. Overdoing it can thin the paint. Regular washing and waxing help maintain the finish.
Can I do paint correction by hand without a machine?
Yes, but it takes more time and effort. Using a dual-action polisher gives better results and is easier for beginners.
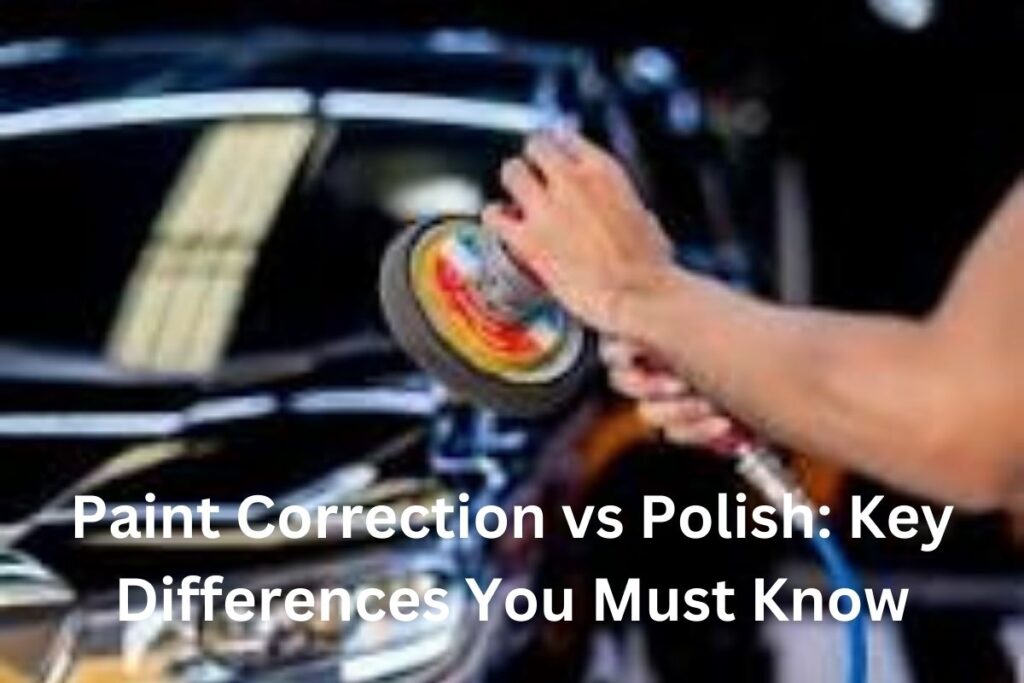
What is the difference between polishing and waxing?
Polishing removes imperfections and restores shine. Waxing adds a protective layer to keep the paint safe from elements.
How long does the paint correction process take?
It depends on the car’s size and condition. For beginners, it may take several hours to a full day.
Is paint correction safe for all car paints?
Most modern cars have clear coats suitable for paint correction. Always test a small area first to ensure safety.