Do you want to make your car’s paint look flawless but worry about making mistakes? Paint correction can bring out the best shine, but even small errors can ruin the finish. Many people skip steps or use the wrong tools, leaving scratches or uneven results. These mistakes waste time and money.
This guide will show you how to avoid the 10 most common paint correction errors. You will learn simple, effective tips to fix defects without damaging the surface. By the end, you’ll feel confident and ready to achieve a smooth, polished look for your car.
Table of Contents
Toggle1. Skipping Proper Surface Preparation
Paint correction needs a clean surface. Skipping this step causes problems. Dirt, grime, and debris can get stuck. This makes the paint look worse, not better.
Washing the car first is important. Use a pH-balanced car shampoo. This removes dust and grease. After washing, use a clay bar. It clears away tiny particles. These particles include iron deposits, tar, and road film. Leaving these on the surface leads to scratches.
Never rush this process. Take your time to prepare. It sets the foundation for good results. Without it, your hard work will fail to deliver. Preparation makes polishing easier and more effective.
2. Ignoring Paint Thickness Measurements
Not checking paint thickness before starting paint correction is a common mistake. This can lead to serious damage. Every car has a limited amount of paint. Polishing removes some of it. Without knowing how much paint is left, you could burn through it. This ruins the surface and costs a lot to fix.
A paint thickness gauge is the best tool for this. It measures how much paint is on the car. You can check different spots on the car. This shows where the paint is thick and where it is thin. It helps you plan your work and avoid mistakes.
Factory paint and repainted surfaces are different. Repainted panels might have extra layers. They could also have uneven thickness. The gauge shows this, so you know how to work carefully.
Always use a light polish on thin areas. Avoid aggressive compounds in these spots. Aggressive polishing can make thin paint worse. Light tools and techniques are safer.
Skipping this step can ruin the job. You cannot fix over-polished paint easily. Checking thickness is quick and protects your work. It also keeps the car looking perfect for a longer time. Take this step seriously. It saves time and money later.
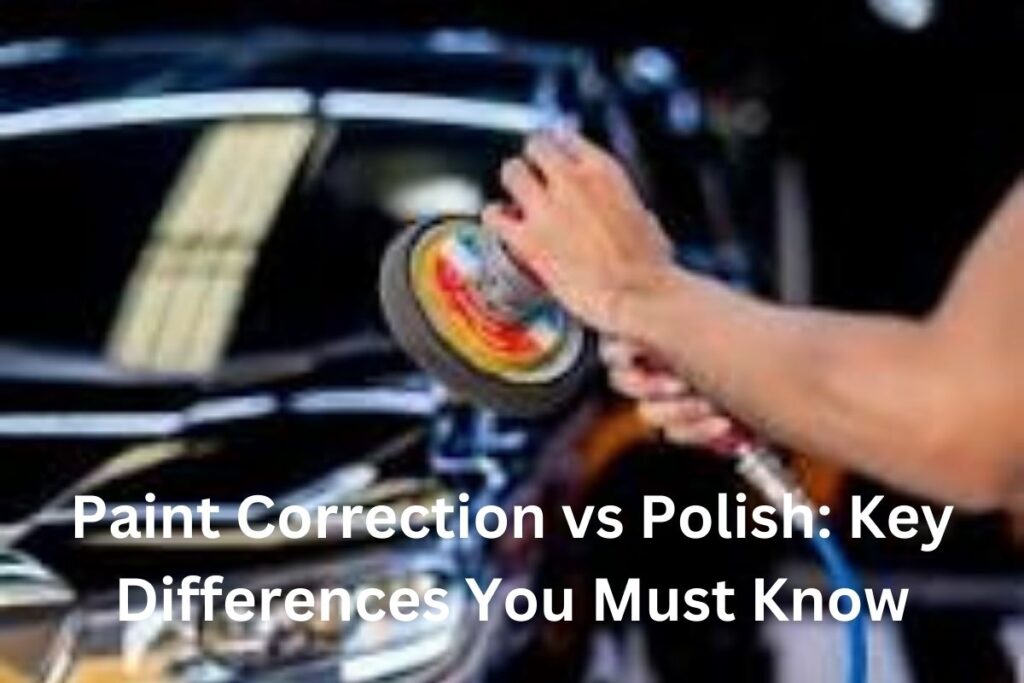
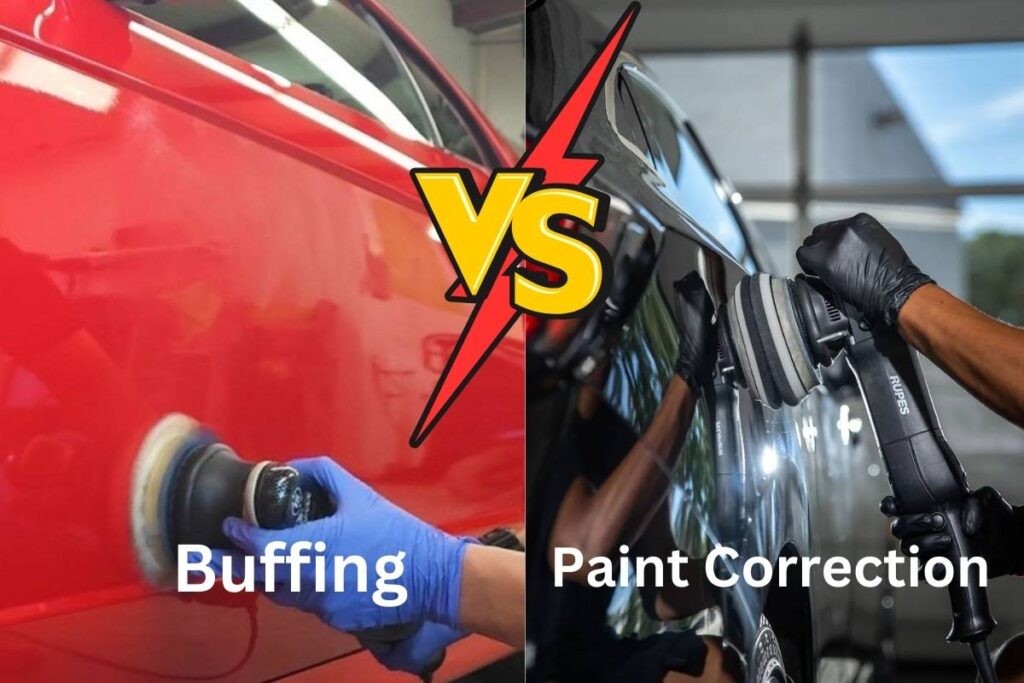
3. Using Incorrect Polishing Pads and Compounds
Using the wrong polishing pads or compounds can cause serious problems. It can lead to scratches, swirl marks, or uneven results. The right tools and products make all the difference.
Each type of pad has a purpose. Foam pads are soft and gentle. They are good for finishing. Wool pads are more aggressive. They work well for heavy correction. Microfiber pads are versatile. They can correct and finish, depending on the compound you use.
Polishing compounds also matter. Some are abrasive and remove deep scratches. Others are mild and add shine. A heavy-cut compound paired with a soft pad will not work well. The combination must match the paint’s condition.
Test on a small area first. This shows what pad and compound work best together. Every car has different paint. Some paints are soft and scratch easily. Others are hard and need stronger products. Testing helps avoid costly mistakes.
Never mix dirty pads with clean ones. Dirty pads can ruin the paint. Wash pads regularly during work. This keeps them effective and prevents scratches.
Polishing is a process. The wrong pad or compound slows you down. Worse, it can damage the paint. Use the right tools, and the results will shine.
4. Applying Excessive Pressure During Polishing
Pressing too hard while polishing is a common mistake. Many think more pressure gives better results. This is not true. It causes more harm than good. Excessive force generates heat. Heat damages the clear coat. It can leave burn marks on the surface.
Machines like dual-action polishers do most of the work. Your job is to guide them. Let the machine and polishing compound do the heavy lifting. A light, steady hand works best. Always keep the pad flat against the surface. Tilting the pad increases pressure in one spot. This creates swirl marks or holograms.
Soft paints are more delicate. Harder paints need more work, but not more pressure. Use the right polishing pad and compound combination instead of forcing it.
Check the pad often during work. Heat builds up fast. Take breaks to let the surface cool. Overheating makes the paint harder to correct.
Polishing is not about force. It’s about technique and patience. Polishing with excessive pressure ruins the paint. Gentle, even movements give the best results.
5. Neglecting to Mask Off Sensitive Areas
Skipping masking during paint correction causes problems. Unprotected areas like trim, badges, and rubber seals can get damaged. Polishing compounds and pads are abrasive. They can leave marks or stains on these parts. This makes the car look messy.
Masking tape is an easy fix. It protects non-painted surfaces from damage. Use it on areas like door handles, windows, and edges of plastic parts. A few minutes of masking saves hours of cleanup later.
Work carefully near masked areas. Avoid touching the tape with the pad. Loose tape can move and expose the surface underneath. Check the tape regularly during polishing. Replace it if it starts to peel or loosen.
Using proper tape matters. Standard household tape does not stick well to car surfaces. It can leave residue behind. Use automotive masking tape for better results. It sticks firmly but removes cleanly without leaving marks.
Polishing without masking creates avoidable issues. Stains on trim and seals are hard to remove. Masking is quick and simple. It keeps the job clean and professional.
6. Working in Unfavorable Environmental Conditions
Poor conditions make paint correction harder. Hot weather or direct sunlight dries products too quickly. Cold weather makes compounds hard to spread. Dusty or windy areas add dirt to the surface. These issues ruin your results.
Indoor spaces are better for polishing. Garages or covered areas protect the car from weather. Control the temperature if possible. A cool, shaded place works best. Proper lighting is also important. Bright, focused lights show every scratch and swirl clearly. This helps you see your progress.
Outdoor work requires extra care. Pick a day with mild weather. Avoid windy spots to keep dust away. Use a canopy or portable garage for shade. These help create a stable work environment.
Never polish in direct sunlight. Heat builds up fast on the car’s surface. This makes products hard to control. They dry unevenly, leaving streaks and smears. Working in cool, clean conditions makes polishing smoother and safer.
Environment affects every step of paint correction. A controlled space gives better results. Avoid harsh weather and poor lighting. Your hard work will show in the final shine.
7. Overlooking the Importance of Test Spots
Skipping test spots leads to uneven results. Each car’s paint reacts differently to polishing. Some paints are soft, while others are hard. The wrong combination of pad and compound can make things worse. Test spots prevent this.
Start by picking a small area on the car. A door panel or fender works well. Test the pad and compound combination there. Work on this area until you find the right setup. Look for smoothness and clarity in the paint. The test spot shows if the technique will work for the entire car.
Test spots save time and effort. Without them, you risk over-polishing or under-correcting the paint. This means doing the same job twice or fixing mistakes later.
Use the same lighting for the test spot as the rest of the work. Poor lighting can hide scratches. Proper lights make sure you see all defects.
Skipping test spots is a mistake. They help you plan better and work smarter. Testing gives you confidence in your tools and technique. Every car is different. Test spots ensure the final results are perfect.
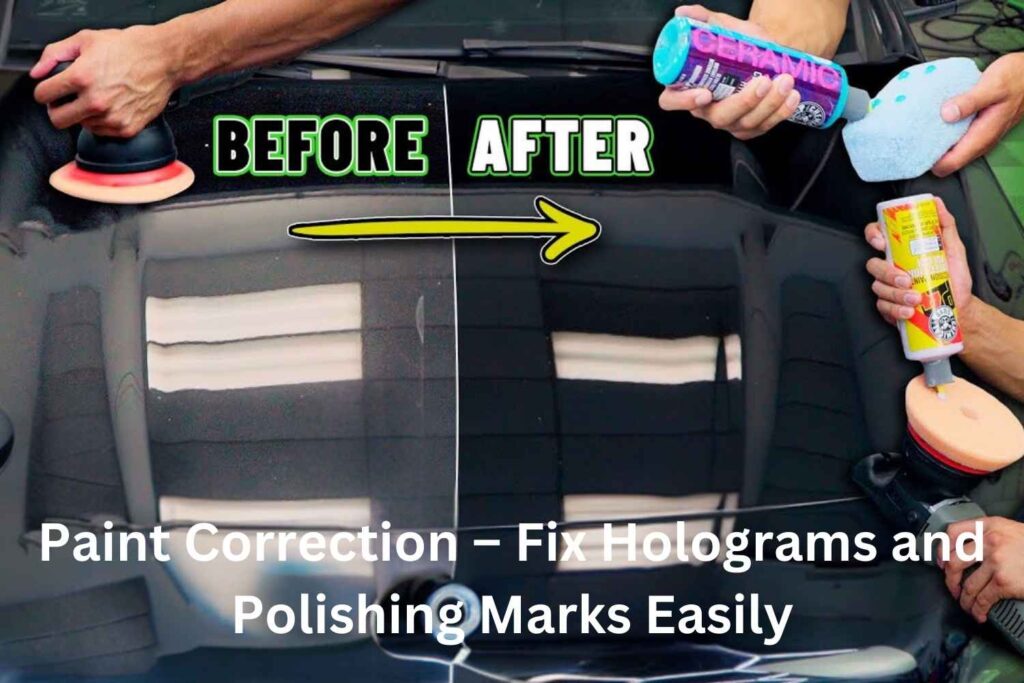
8. Failing to Clean Pads Regularly
Dirty pads ruin the polishing process. Polishing pads collect paint residue, dust, and compound as you work. A dirty pad spreads this debris across the surface. This creates swirl marks, haze, or scratches. The job takes longer and the results look worse.
Clean pads often during paint correction. Do this after every section or panel. A pad washer or cleaning brush works best. For quick cleaning, use compressed air or a microfiber towel. This removes buildup and keeps the pad fresh.
Switch to a new pad if the old one becomes too dirty. Pads that are clogged cannot spread the compound evenly. Overusing dirty pads damages the car’s paint. Having multiple pads ready saves time and ensures better results.
Wet pads also cause problems. Moisture dilutes the polishing compound. This reduces its cutting power. Always dry the pads fully before using them again.
Skipping this step wastes effort. Clean pads work better and prevent defects. Keeping pads clean is a simple habit. It protects the paint and improves the finish. This small step makes a big difference.
9. Rushing Through the Correction Process
Working too fast during paint correction leads to mistakes. Skipping steps or hurrying through the process creates uneven results. Scratches, swirls, and spots can remain. These problems waste time and effort in the long run.
Polishing requires patience. Each section of the car needs proper attention. Focus on one area at a time. Rushing makes it easy to miss defects. Check your work often. Look for improvements before moving to the next section.
Slow movements allow the polish to work. The compound needs time to break down and refine the surface. Quick motions leave the job unfinished. Use steady, even pressure for consistent results. Repeat the process if needed to achieve the desired shine.
Lighting also plays a role. Poor lighting hides imperfections. Good lighting shows the paint clearly. This helps you spot areas that need extra work.
Rushing to finish quickly damages the paint. Heat from fast machine movements can burn the clear coat. Skipping cleanup leaves compound residue, making the paint look dull.
Take your time. Pay attention to every detail. Paint correction is not about speed. Quality work brings out the best shine and protects the paint. Patience and focus make a big difference in the final result.
10. Skipping the Final Inspection and Protection
Leaving paint correction unfinished weakens the results. Final inspection ensures every detail looks perfect. Small scratches, swirls, or haze might still be on the surface. Skipping this step leaves them unnoticed, lowering the quality of your work.
Inspect the car under proper lighting. Bright, direct light shows hidden imperfections. Check each panel carefully. Move around the car to see the paint from different angles. This reveals areas that need more polishing.
Protection comes next. Polished paint needs a protective layer. Without it, the surface stays exposed. Dirt, moisture, and UV rays can damage the fresh finish. Use a high-quality sealant or wax. These products add shine and shield the paint from harm. Ceramic coatings are another option. They last longer and provide stronger protection.
Always clean the surface before applying protection. Leftover polishing compound can stop the sealant or wax from bonding. Use a clean microfiber cloth to wipe down the car. This ensures the protective layer sticks properly.
Skipping this step makes the work incomplete. Final inspection guarantees every flaw is corrected. Protection preserves the results and keeps the paint looking fresh. Attention to these details brings out the best finish.