Ever noticed light scratches or dullness on your car’s paint and wished for an easy fix? 1 step paint correction might be the solution you’re looking for! This simple, beginner-friendly process can help bring back your car’s shine without the time or cost of a full paint correction. Unlike multi-step corrections, 1-step paint correction focuses on quick, effective improvement, making it ideal for car owners who want a polished look without the hassle.
In this post, you’ll discover exactly what 1 step paint correction is, how it works, and practical tips for achieving the best results—whether you’re a car detailing enthusiast or new to car care. By the end, you’ll know how to make your car look fresher and more polished with ease.
Table of Contents
ToggleWhat is 1 Step Paint Correction?
1 step paint correction is like giving your car a mini-makeover. Instead of going through multiple steps, like in a full paint correction, you only use one polishing step to remove light scratches, swirl marks, and other minor flaws. It’s a quick process but can make a huge difference in how shiny and smooth your car’s paint looks.
Here’s a simple way to think about it: if your car’s paint was a piece of glass with small smudges or fingerprints, 1 step paint correction would be like wiping it down to make it clear again. It’s not meant to fix major issues like deep scratches, but it can definitely help make the paint look newer and more polished.
This method is especially great if:
- Your car has light scratches or swirl marks.
- You want a cost-effective solution without a full detail.
- You’re preparing to sell your car and want it to look fresh.
In short, 1 step paint correction is a quick, easy, and budget-friendly way to improve your car’s look without needing a full paint correction process.
Benefits of 1-Step Paint Correction
Now, let’s talk about why 1 step paint correction is such a popular choice. Here are some of the main benefits:
1. Makes Your Car Look Shiny and New
If you want your car to stand out, shiny paint is key. With 1 step paint correction, you can bring back the shine in a simple way. This method removes minor scratches and swirls, giving the paint a cleaner, more polished look. It may not be as perfect as a full paint correction, but it still makes a noticeable difference.
2. Saves You Money
One of the best parts about 1 step paint correction is that it’s affordable. Because it only involves one polishing step, it costs less than a multi-step process. For many car owners, this is a great option if you’re on a budget but still want good results.
3. Saves You Time
We all lead busy lives, and sometimes there isn’t time for a full paint correction, which can take hours or even days. 1 step paint correction is much faster. You can see results quickly, making it perfect for people who want to improve their car’s look without spending too much time.
4. Great for Beginners
If you’re new to car detailing, 1 step paint correction is a good starting point. It’s simpler than other methods, making it easier to learn without worrying about complicated steps. Plus, with just one product and tool needed, it’s manageable for someone just getting into car care.
These benefits make 1 step paint correction a smart choice for many people, especially those who want a quick improvement without a lot of hassle.
The 1-Step Paint Correction Process
Ready to learn how to do 1 step paint correction? Let’s break down the steps to make it simple.
Step 1: Assess the Car’s Paint Condition
Before starting, take a close look at your car’s paint. Is it scratched? Does it have swirl marks? 1 step paint correction works best on light scratches and minor imperfections. If you see deep scratches, this method might not be enough, but for most everyday issues, it’s ideal.
Step 2: Gather Your Tools and Products
For 1 step paint correction, you don’t need a lot, but having the right tools is important. Here’s what you’ll need:
- Polishing compound: This helps remove minor scratches and give your paint a smooth finish.
- Dual-action polisher: While you can do it by hand, using a polisher makes the job faster and more even.
- Foam polishing pad: Attach this to your polisher; it spreads the compound and smooths out the paint.
- Microfiber towels: These are soft and won’t scratch the paint when wiping off the compound.
Step 3: Prep the Surface
Before applying any polish, wash your car thoroughly to remove dirt and grime. This helps prevent any scratches from debris during the correction process. After washing, dry the car completely.
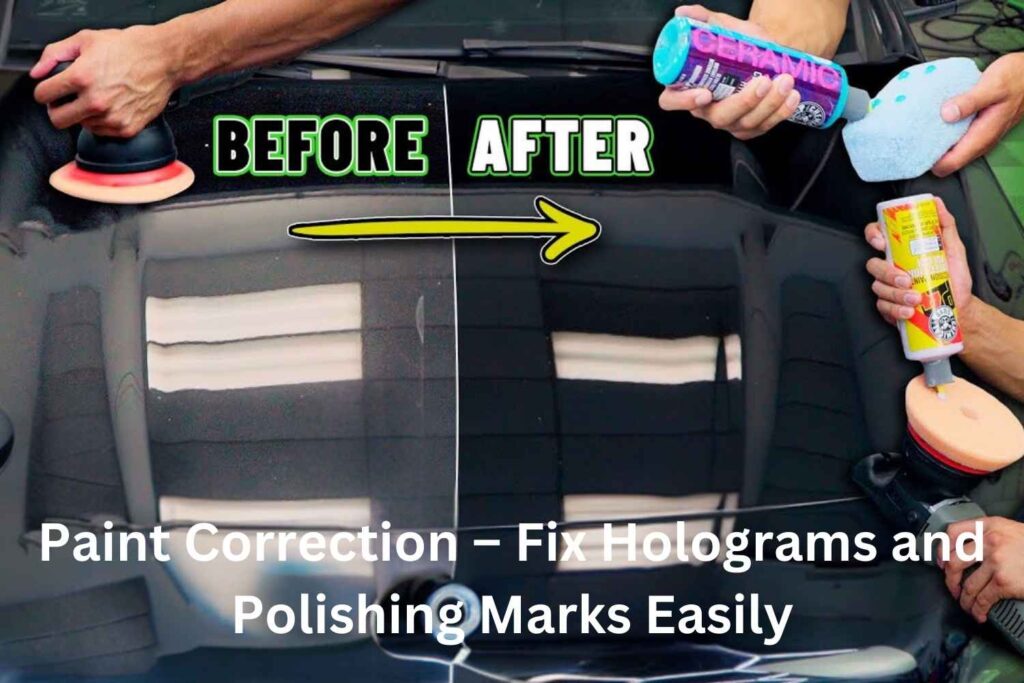
Step 4: Apply the Polish
Put a small amount of polishing compound on the foam pad. Then, gently move the polisher over the surface in small sections, using light, even pressure. This is where 1 step paint correction works its magic, smoothing out the surface and giving it a cleaner look.
Step 5: Wipe Down and Inspect
Once you’re done polishing, use a microfiber towel to wipe off any remaining polish. Take a look at the paint to make sure it’s even and that the shine is consistent. If any areas look dull, you can touch them up with a little more polish.
And that’s it! With these five simple steps, you’ve completed a 1 step paint correction and given your car’s paint a fresh, polished look.
Common Mistakes to Avoid in 1-Step Paint Correction
Even though 1 step paint correction is straightforward, a few common mistakes can prevent you from getting the best results. Avoiding these pitfalls will help you achieve a smoother, shinier finish and keep your car’s paint in great condition. Let’s go over some of these mistakes so you can get the most out of your paint correction.
1. Skipping Surface Preparation
Before you start with 1 step paint correction, it’s important to prep your car’s surface. This means thoroughly washing and drying the car. Skipping this step can lead to dust or dirt getting trapped in the polish, which can cause scratches or make the paint look uneven. A clean surface ensures that the polish can work smoothly and give you a better shine.
2. Using the Wrong Pad or Polish
Not all pads and polishes are the same. For 1 step paint correction, make sure to choose a polish that’s designed for light correction work and a foam pad that’s soft and gentle on the paint. Using a pad that’s too rough or a polish that’s too strong can damage the clear coat or leave swirl marks. When in doubt, start with a mild polish and a soft pad to keep your car’s paint safe.
3. Applying Too Much Pressure
It might feel like pressing harder will get better results, but with 1 step paint correction, gentle pressure is key. Applying too much pressure can lead to uneven polishing or even damage to the paint. Instead, let the polisher do the work for you. Move it gently and steadily across the surface, using just enough pressure to keep the pad in contact with the paint.
4. Rushing the Process
While 1 step paint correction is quicker than multi-step correction, it still requires some patience. Rushing through the process can lead to missed spots or an uneven finish. Take your time with each section, making sure to polish evenly and thoroughly before moving on to the next area.
By avoiding these common mistakes, you’ll achieve a clean, polished finish that looks great and lasts longer. 1 step paint correction may be simple, but taking these extra precautions makes a big difference in the final results.
Considerations Before Opting for 1-Step Paint Correction
While 1 step paint correction offers many benefits, it’s not always the right choice for every car or every situation. Here are some things to consider before deciding if this method is the best option for your car.
1. Limitations of 1-Step Paint Correction
1 step paint correction works wonders on light scratches and small imperfections, but it has its limits. For deeper scratches, heavy oxidation, or severe paint issues, a multi-step correction might be necessary to fully restore the paint. 1 step paint correction is best for cars with mild imperfections where a quick shine-up is all that’s needed.
2. Paint Type and Condition
Different types of car paint and finishes can react differently to polishing. If you have a unique or older paint job, it’s worth double-checking if 1 step paint correction is safe for your car’s surface. Some paints are softer or more sensitive and may need gentler handling or specific products to avoid damage.
3. How to Maintain the Corrected Finish
After completing 1 step paint correction, you’ll want to keep the paint looking fresh. A layer of wax or sealant can help protect the corrected surface and maintain its shine for longer. Regular washing and avoiding rough cloths or brushes will also help keep the paint in great shape.
Taking these points into account can help you decide if 1 step paint correction is the best choice for your car and how to maintain its results over time. This way, you’ll get the most benefit from the process and enjoy a long-lasting, polished look.
Conclusion and Final Tips for Car Owners
1 step paint correction is a fantastic way to make your car’s paint look fresh and shiny without the time and expense of a full, multi-step correction. It’s a simple, cost-effective process that can bring out the best in your car’s appearance with minimal effort. Whether you’re a beginner or a car enthusiast, this method is a great option to improve your car’s look quickly and easily.
Here are a few final tips to get the best results:
Consider Starting with a Test Spot
Before you begin on the entire car, try 1 step paint correction on a small area first. This lets you see how the polish works with your car’s paint and helps you get a feel for the process. If the result looks good on the test spot, you’re ready to move on to the rest of the car!
Protect the Finish with Wax or Sealant
Once you’ve completed 1 step paint correction, adding a layer of wax or sealant can help protect the newly polished surface. This coating keeps the paint looking glossy and protects it from dirt, water spots, and other elements that could dull the finish over time. Regular washing and care will also help keep the paint looking great.
Keep Up Regular Maintenance
1 step paint correction gives your car’s paint a fresh look, but regular maintenance is essential for keeping it that way. Wash your car gently with a soft cloth or sponge, and avoid harsh chemicals that can damage the paint. With good maintenance, the polished finish can last longer, keeping your car looking its best.
Frequently Asked Questions About 1-Step Paint Correction
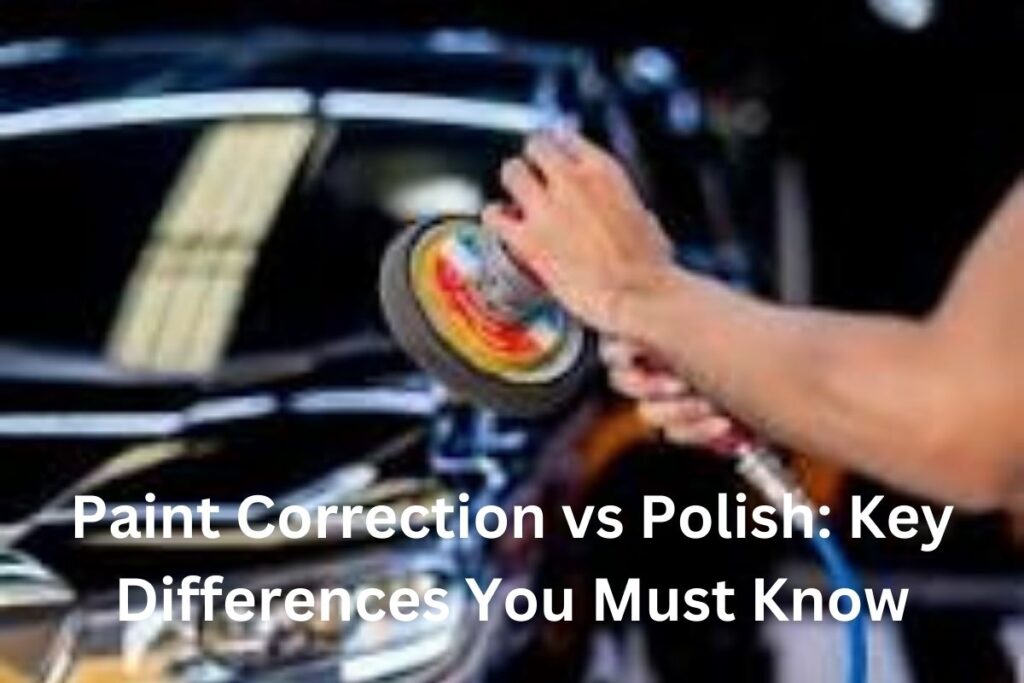
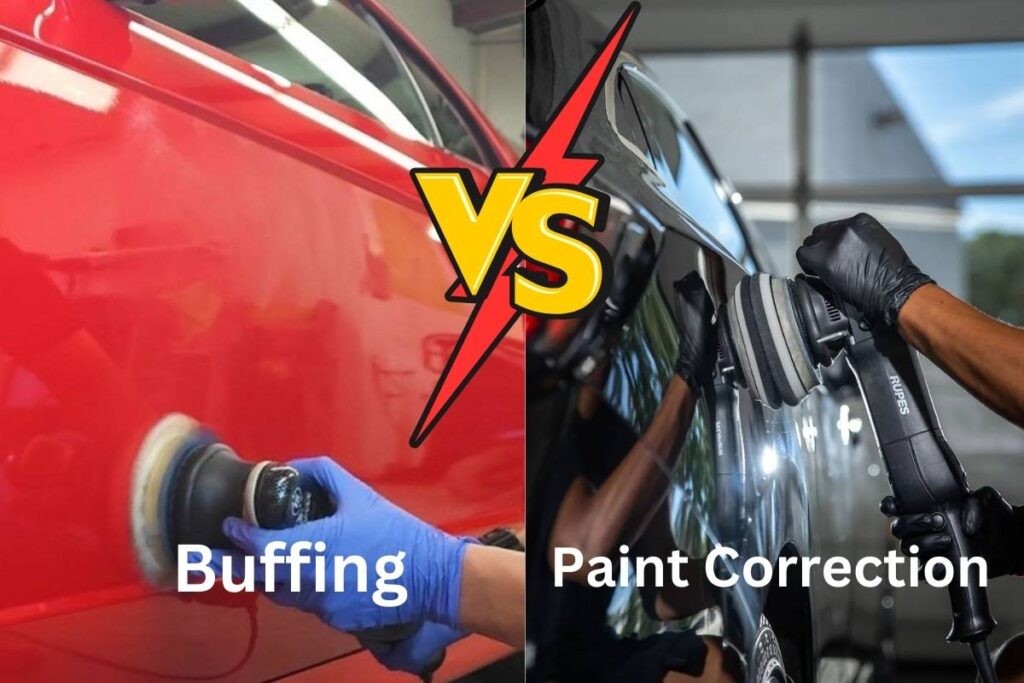
What exactly is 1-step paint correction, and how does it differ from multi-step correction?
1 step paint correction is a process that uses just one polishing step to remove light scratches and minor imperfections. It’s quicker and less intensive than multi-step correction, which involves several rounds of polishing and can fix deeper paint issues. 1 step paint correction is ideal for refreshing a car’s appearance without needing a full correction.
Can I perform 1-step paint correction at home, or do I need a professional?
Yes, you can do 1 step paint correction at home with the right tools, like a dual-action polisher, foam pad, and polishing compound. It’s a beginner-friendly process, but following each step carefully is important. If you’re not confident, a professional detailer can also help.
How long do the results of 1-step paint correction typically last?
The results of 1 step paint correction usually last a few months, depending on how well you care for the car afterward. Adding a layer of wax or sealant can protect the polished surface and keep it shiny for longer. Regular washing also helps maintain the look.
What types of scratches or imperfections can 1-step paint correction fix?
1 step paint correction is effective for light scratches, swirl marks, and minor oxidation. It’s not designed for deep scratches or heavy oxidation, which may require a multi-step correction. 1 step correction is best for minor paint issues that don’t go too deep.
Is 1-step paint correction safe for all car paint types and finishes?
Yes, 1 step paint correction is generally safe for most car paint types and finishes. However, if your car has a unique or older paint job, it’s a good idea to test a small area first. Always use a gentle pad and polish to avoid damage to sensitive surfaces.
Disclaimer
1 step paint correction is designed for light surface imperfections and may not fully remove deep scratches, heavy oxidation, or severe paint defects. For cars with significant paint damage, consider consulting a professional or exploring multi-step correction options. Always test on a small area first to ensure compatibility with your car’s paint.