How Much Does the Thickness of Car Paint Matter During Paint Correction? This simple detail can change everything about how safe and effective the process is. Paint layers protect the car and give it a perfect finish, but they also have limits. Removing too much paint can lead to damage that cannot be undone.
This blog explains why paint thickness is important and how it affects correction work. You will learn how to measure it, what to watch for, and the best ways to protect your car’s finish. By the end, you’ll know how to keep your car looking great without risking its paint.
Table of Contents
ToggleThe Structure of Automotive Paint Layers: Why Thickness Matters
Car paint is not just one layer; it is made up of several layers, each with its own purpose. These layers work together to protect the car and give it a glossy look. Understanding these layers helps explain why paint thickness matters.
The outermost layer is called the clear coat. This layer acts as a shield, protecting the paint underneath from sunlight, dirt, and rain. It is usually the thickest layer, measuring between 30 and 80 microns, and is also the layer most affected during paint correction. Its thickness is crucial for protection against UV rays and environmental contaminants.
Below the clear coat is the base coat, which gives the car its color. It is thinner than the clear coat. While scratches and damage rarely reach this layer, it can happen if the clear coat wears away.
Under the base coat is the primer, which helps the base coat adhere to the car’s body. It also provides an additional layer of protection. Although the primer is very thin, it plays an important role in the paint’s durability.
Finally, there is the car’s metal body. The paint layers adhere to this surface. Without these protective layers, the body would rust or be easily damaged.
Every layer contributes to the total thickness of the paint. Measuring this thickness is crucial before starting paint correction. Removing too much clear coat can expose the base coat or primer, leading to permanent damage.
How to Measure Car Paint Thickness Before Paint Correction
Measuring paint thickness is essential before performing paint correction. It determines how much material can safely be removed, helping to avoid damage to the car’s surface.
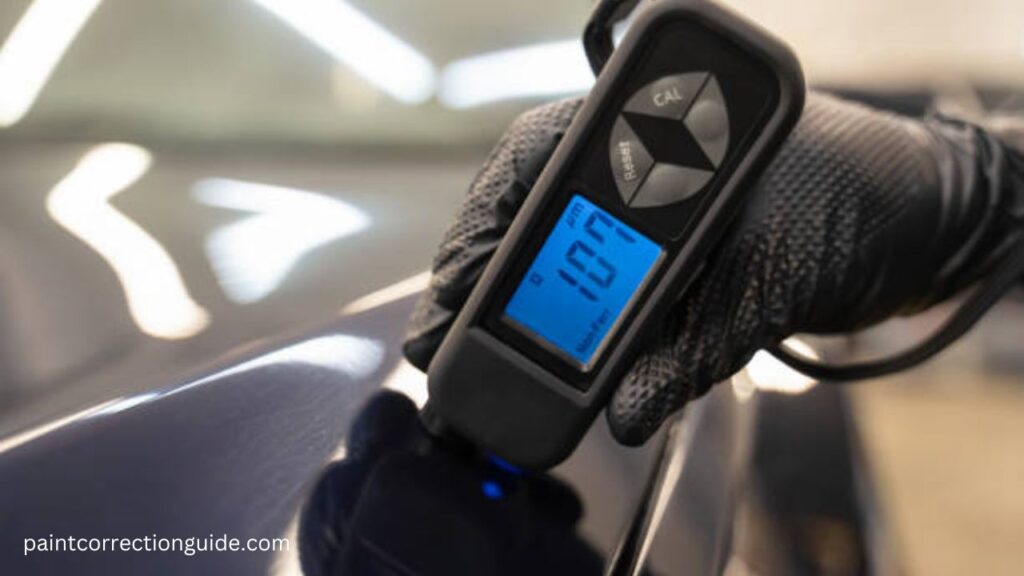
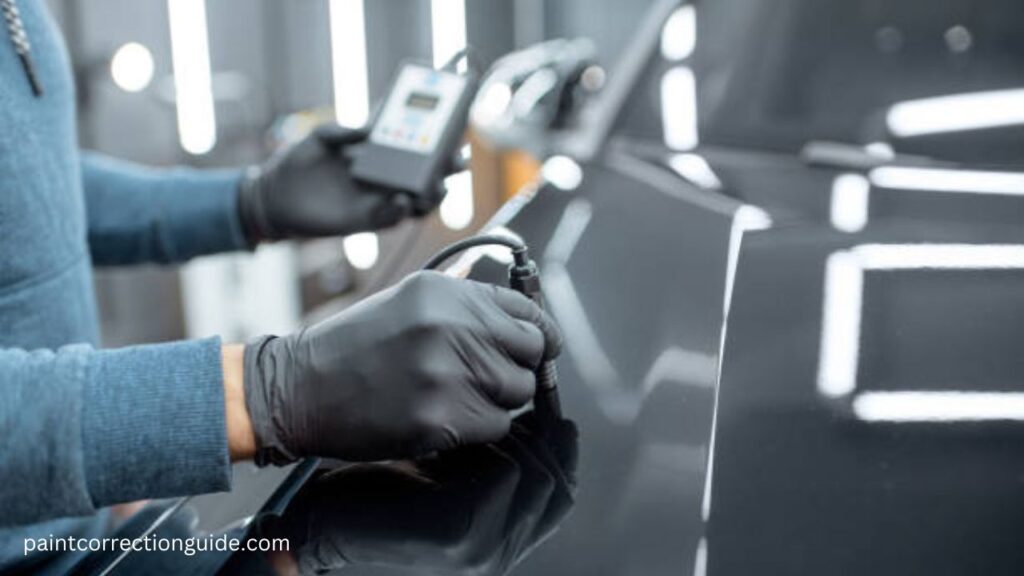
A tool called a paint thickness gauge is used to measure the total thickness of all layers, from the clear coat to the primer. The tool is simple to use and provides measurements in microns, which are tiny units of measurement. One micron is one-millionth of a meter.
Most cars have paint thicknesses between 100 and 200 microns, with the clear coat comprising about half of this. If the thickness is below 100 microns, the paint is considered very thin and requires extra care. Removing too much clear coat can lead to issues like exposing the base coat or even the primer.
It’s important to note that factory paint jobs are generally consistent in thickness. Significant variations between adjacent panels could indicate areas that have been repainted. Testing different parts of the car is also essential, as not all areas have the same thickness. For example, the hood might have thicker paint than the doors. Checking multiple spots helps assess the paint’s overall condition.
Measuring is the first step in ensuring safe paint correction. It provides a clear idea of how much work can be done without risking damage. The goal is to enhance the paint’s appearance while maintaining its protective layers.
Why Car Paint Thickness is Key to Successful Paint Correction
Paint thickness determines how much correction can be performed. Thick paint allows for more extensive work, while thin paint limits options. Knowing the thickness is vital to avoid potential problems.
Removing scratches and swirl marks often involves polishing, which removes a small portion of the clear coat. If the clear coat is thick, more scratches can be safely removed. However, if it is thin, excessive polishing could expose the base coat, ruining the car’s appearance.
Automotive clear coats are typically 1.5 to 2 mils thick (approximately 38 to 50 microns). Safe practices recommend removing only a small fraction of this thickness to preserve the paint’s integrity.
Paint correction depends on the type of damage. Deep scratches require more polishing, while light scratches or swirl marks need less effort. Measuring the paint’s thickness beforehand helps determine what kind of correction is safe.
Heat generated by polishing tools can also affect thin paint. Excessive heat can weaken the paint, so using the right speed and pressure is crucial. Extra care should always be taken when working on thin paint.
Paint thickness varies across cars. Some manufacturers use thinner clear coats to reduce costs, while older cars may have thinner paint due to previous corrections. Each car requires a unique approach based on its condition.
Safe paint correction involves preserving enough clear coat to protect the base coat and maintain the car’s overall appearance. Accurate measurement and careful planning are key to avoiding damage.
Best Practices for Safe and Effective Paint Correction
Paint correction requires skill and the right tools. Following best practices ensures the paint is protected while improving its appearance. Every step should prioritize safety and results.
- Start with a test spot. Choose a small area to test the process. This shows how the paint reacts and helps determine the most effective polish or compound. Testing prevents errors on the entire car.
- Use the least aggressive method first. Begin with a mild polish to see if it removes the imperfections. Use stronger compounds only when necessary, as this helps preserve more of the clear coat.
- Work slowly and in small sections. This ensures even correction. Rushing can cause uneven polishing and excessive heat buildup, especially on thin paint. Working carefully minimizes these risks.
- Measure the paint often during the process. Recheck the thickness after each round of correction to ensure no layer is removed beyond the safe limit. Regular checks are particularly important for older cars or areas with thin paint.
- Use high-quality tools and pads. Poor-quality products can damage the paint. Polishing pads should match the type of polish, and worn-out pads should be replaced to prevent scratches.
- Protect the corrected surface. After finishing, apply a high-quality wax or ceramic coating. These seal the surface, enhance shine, and provide added protection against dirt and sunlight.
Also, use clean microfiber towels to avoid introducing new scratches. Avoid paper-based towels, as they can cause micro-scratches on the paint surface.
Conclusion
The thickness of car paint plays a crucial role in paint correction. It determines how much work can be done safely. Thick paint allows for more correction, while thin paint requires extra care. Measuring thickness beforehand is essential to avoid mistakes that could damage the car’s appearance.
Understanding the structure of car paint simplifies the process. Clear coats, base coats, and primers all work together to protect the car. Every layer matters during correction. Removing too much clear coat can expose the underlying layers, leading to reduced protection and compromised aesthetics.
Safe paint correction involves using the right tools and techniques. Testing small areas, using mild products, and measuring frequently help ensure the paint is preserved. These steps strike a balance between improving the appearance and maintaining protection.
Caring for car paint goes beyond looks; it ensures the car remains in excellent condition for years. Protecting the paint after correction adds even more value. Applying a good wax or ceramic coating seals the surface and enhances its shine.
When done correctly, paint correction restores a car’s appearance and strengthens its paint layers. Understanding the importance of paint thickness ensures better results and a flawless finish.
Frequently Asked Questions (FAQs)
How can I measure my car’s paint thickness?
Use a paint thickness gauge. This tool measures the layers of paint on your car. It helps decide how much correction is safe.
What happens if I remove too much clear coat during correction?
Removing too much can expose the base coat. This leads to color changes and less protection. It may need costly repairs.
Can I do paint correction myself, or should I hire a professional?
DIY is possible with the right tools and care. But professionals have experience and equipment for better results. For deep scratches or thin paint, it’s best to consult an expert.
How often should I perform paint correction on my car?
Only when needed. Frequent correction can thin the paint over time. Regular washing and protection reduce the need for correction.
What should I do after paint correction to maintain the finish?
Apply a quality wax or ceramic coating. This protects the paint and keeps it shiny. Regular gentle washing helps maintain the finish.


