
There’s nothing better than seeing your car clean and shiny. I’ve always loved keeping my car in top shape; it feels like a hobby to me. But there was one thing that always drove me crazy: those annoying swirl marks on the paint. No matter how careful I was, those small, round scratches would show up after every wash. If you’re like me, you’ve probably asked yourself, “How do I get rid of these swirl marks for good?” I’ve been there, and I’m here to share what I’ve learned about getting rid of swirl marks and keeping that glossy finish.
What Are Swirl Marks?
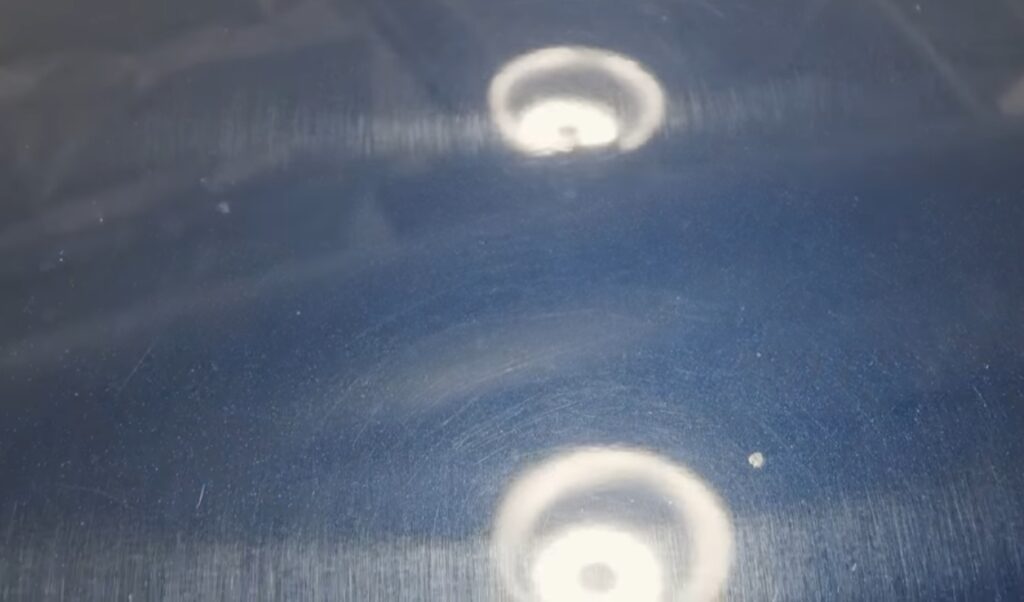
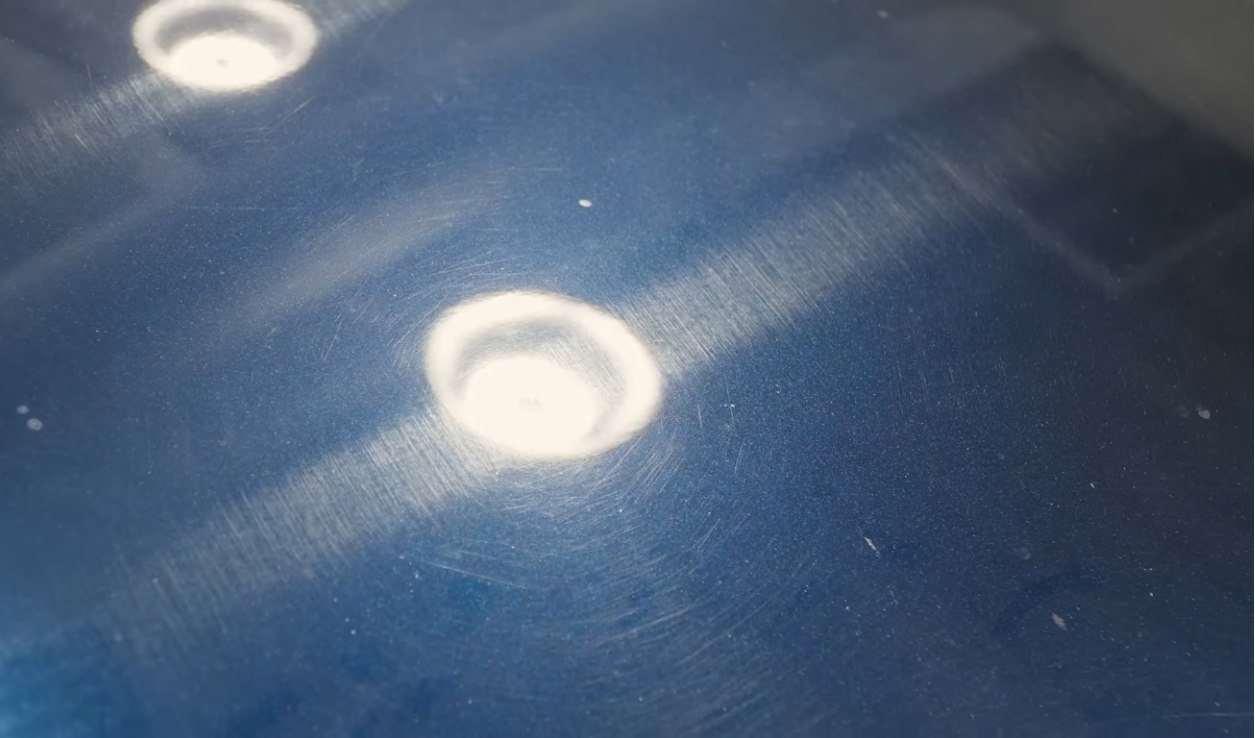
Let’s start by explaining what swirl marks are. Swirl marks are small, circular scratches on the clear coat of a car’s paint. They show up when light hits them, whether it is sunlight or artificial light. These marks can make even a freshly cleaned car look dull and less shiny. Swirl marks are tiny scratches that scatter light instead of reflecting it smoothly. This is what causes a hazy, dull look.
Swirl marks are easier to see on dark-colored cars like black or navy blue. This is because the contrast between the scratched areas and the rest of the paint is stronger. But swirl marks can affect cars of any color. The good news is that these marks usually stay on the top layer of the paint. With the right methods, you can remove them.
What Causes Swirl Marks on Car Paint?

Over the years, I’ve learned that swirl marks often come from simple mistakes during car care. Here are some common reasons why swirl marks happen:
Improper Washing Techniques: This is the main cause of swirl marks. Using dirty or rough sponges, towels, or brushes can scratch the paint. Even using the wrong kind of wash mitt can make a big difference. For example, some cloths with polyester threads can leave scratches behind.
Automated Car Washes: I’ve used automated car washes because they are quick and easy. But those big spinning brushes? They often have dirt and grit from other cars. This can damage your paint. If you’ve used one, it may have left swirl marks on your car.
Improper Polishing and Buffing: Believe it or not, polishing your car without the right skills can do more harm than good. Using the wrong type of polisher or pad, or pressing too hard, can cause swirl marks instead of fixing them.
Environmental Contaminants: Dust, dirt, and bird droppings can be rough. If you wipe them off without washing first, you are grinding those particles into your paint.
So, how can we fix this? Let’s look at the tools and methods that will help you get rid of these swirl marks for good.
Essential Tools and Products for Removing Swirl Marks From Car Paint
When you want to remove swirl marks from your car, having the right tools and products is key. Here’s what you’ll need:
Dual Action (DA) Polishers: These polishers are different from rotary polishers. They spin and move side to side at the same time. This helps prevent burning the paint. They are easy to use and good for beginners. They give you better control when removing swirl marks.
Polishing Pads: You will need a few types of pads. Foam, microfiber, and wool pads each have different levels of roughness. Foam pads are good for finishing touches. Microfiber and wool pads work well for tougher jobs.
Compounds and Polishes: Some good choices for removing swirl marks are Meguiar’s Ultimate Compound and SwirlX. Compounds are more abrasive and help with deeper marks. Polishes are less abrasive and help smooth the finish.
Clay Bars and Lubricants: Before polishing, you need to clean the surface. Clay bars help remove dirt that washing alone does not remove.
Microfiber Towels: Soft, clean microfiber towels are a must. They help wipe away any leftover polish without scratching the paint.
Detailing Lights: These lights help you see the swirl marks clearly. They also help you track your progress.
With these tools, you’re ready to get started. Let’s go through the steps to remove swirl marks from your car.
Step-by-Step Guide on How to Remove Swirl Marks from Car
Step 1: Wash the Car Well
To remove swirl marks, you need to wash the car properly first. I like to use the two-bucket wash method. One bucket is for soapy water, and the other is for rinsing the mitt. This keeps dirt from going back on the paint and causing scratches. Use a pH-balanced car shampoo and a microfiber wash mitt for the best results.
Step 2: Clean the Surface with a Clay Bar or Mitt
After washing, it’s time to clean the paint with a clay bar or mitt. This step is important because any leftover dirt can mess up the polishing and cause more damage. Spray a lubricant on a small area of the paint. Then, move the clay bar gently back and forth. The surface will feel smoother as the clay picks up the dirt.
Step 3: Check for Swirl Marks on the Car Paint
After washing and claying, look closely at the swirl marks. Use a detailing light to see the swirl marks clearly and check how bad they are. This will help you decide how strong your polishing needs to be.
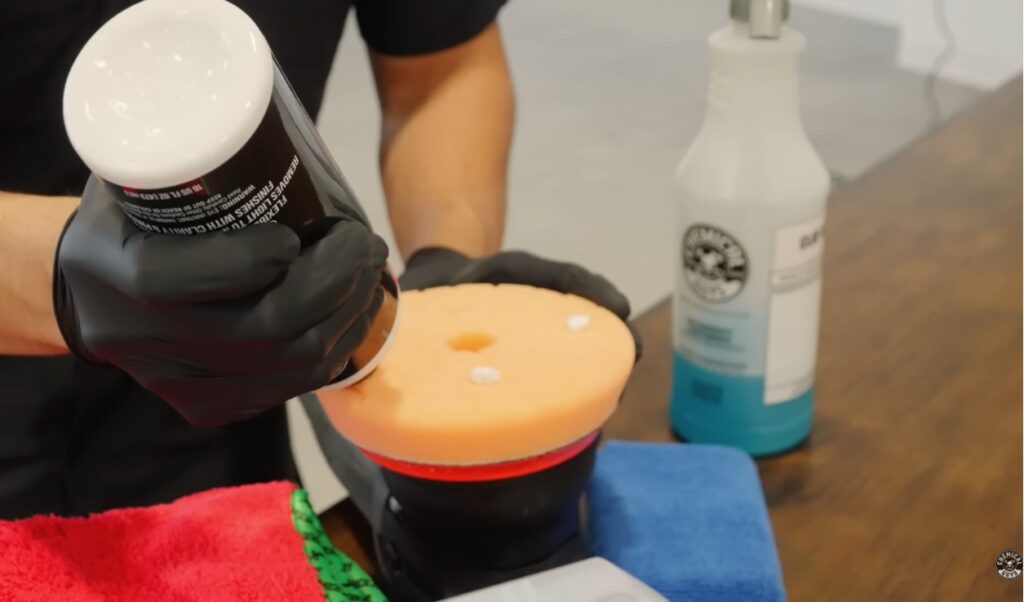
Step 4: Pick the Right Polish and Pads
Choosing the right polish and pad is very important. For light swirl marks, a finishing polish with a soft foam pad should work. For deeper marks, use a compound with a rougher pad like microfiber or wool. Start with the least rough option and try stronger ones only if needed.
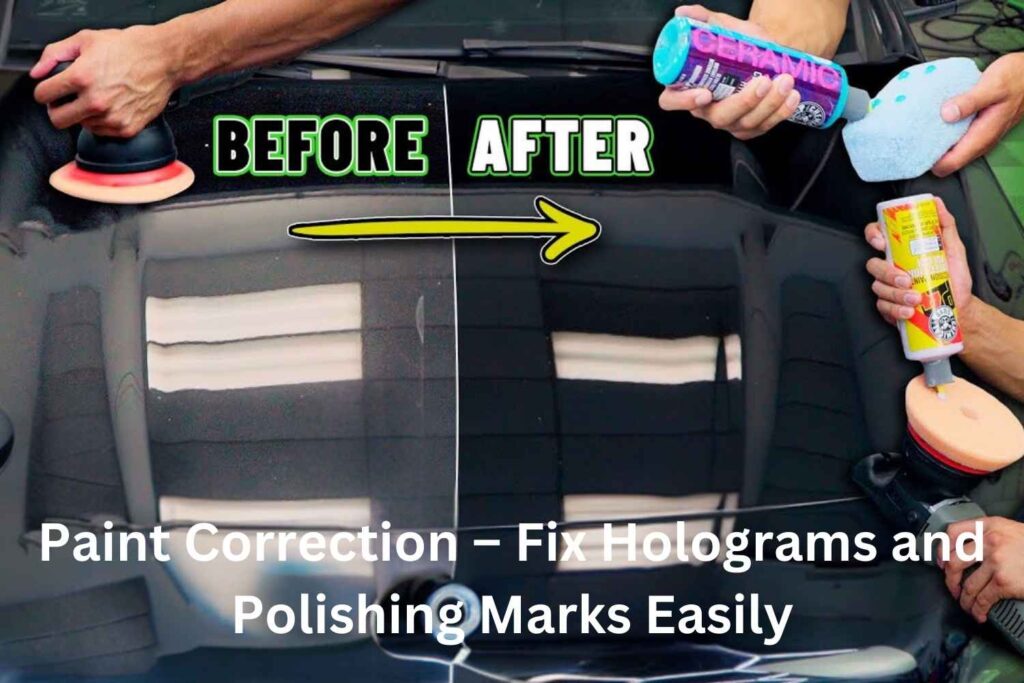
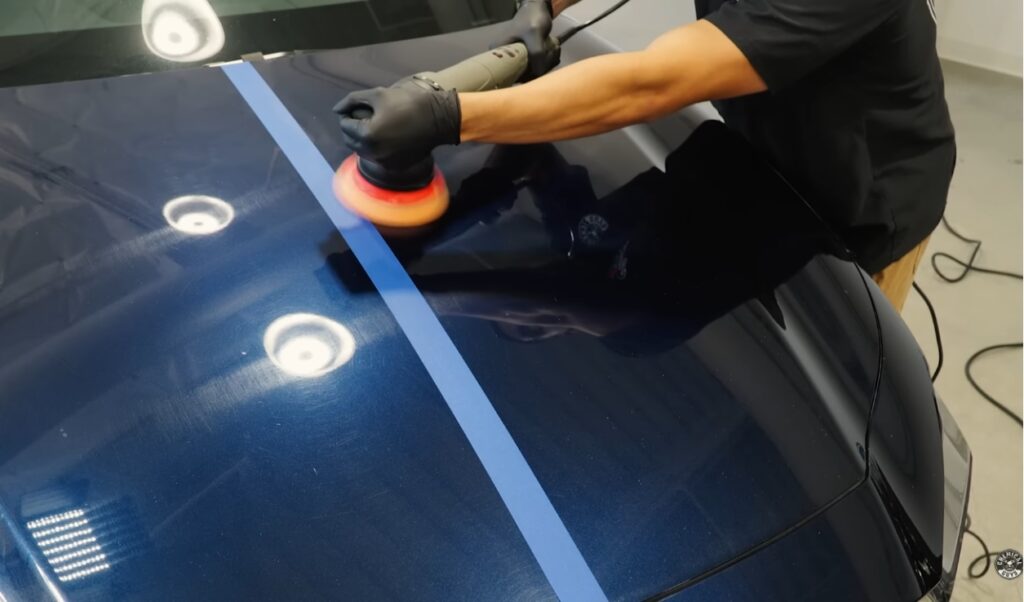
Step 5: Polishing Methods to Remove Swirl Marks from the Car
There are two main methods: hand polishing and machine polishing.
- Hand Polishing: For light swirl marks, you can use a swirl remover and a microfiber pad. Apply the polish in small circles, working on one small area at a time. This method takes time and may not work well for deeper swirls.
- Machine Polishing: For medium to deep swirl marks, a DA polisher is best. Put a small amount of polish on the pad. Start the polisher at a low speed and use overlapping strokes. Slowly increase the speed, keeping the pad flat against the paint. Do not stay in one spot too long to avoid damage.
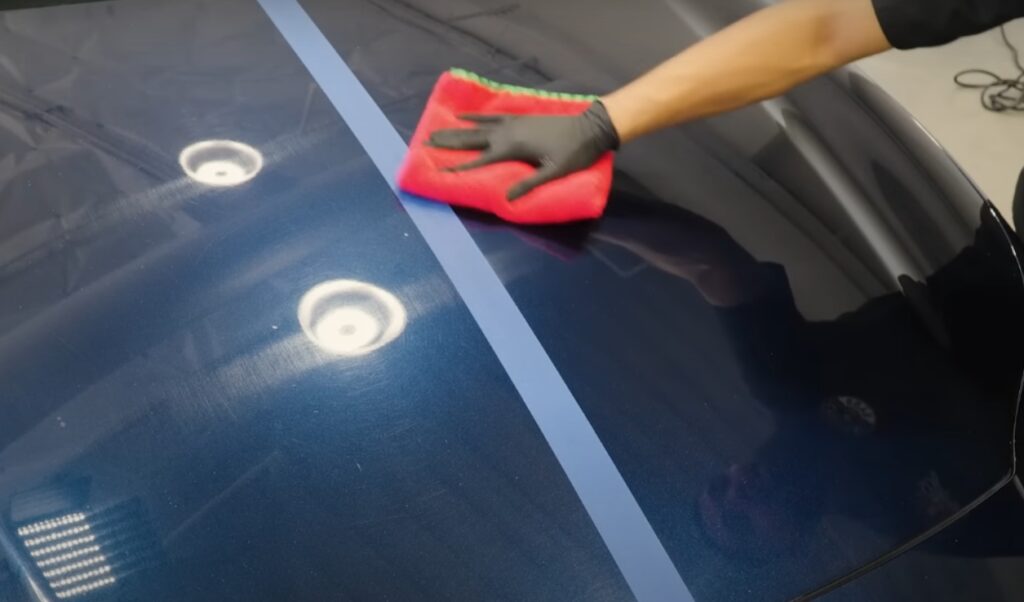
Step 6: Clean Up After Polishing
After polishing, wipe off any leftover polish with a clean, soft microfiber towel. Check your work under good lighting. If you still see swirl marks, repeat the polishing as needed.
Step 7: Apply a Protective Coating to Stop Future Swirl Marks
After polishing, I like to add a protective coating like wax, paint sealant, or ceramic coating. This not only makes the car shine but also protects it from new swirl marks. Wax needs to be applied more often, while ceramic coatings can last for years if maintained well.
Preventing Swirl Marks on Car Surfaces in the Future
Now that your car looks great, let’s keep it that way! Here are some tips to avoid swirl marks in the future:
Proper Car Washing Techniques: Always use the two-bucket method. One bucket is for soapy water, and the other is for rinsing the wash mitt. Use a high-quality wash mitt and microfiber towels. Rinse the car well and do not let it air dry, as this can cause water spots.
Avoid Automated Car Washes: Use touchless or hand washes instead. Automated washes with brushes can leave new swirl marks.
Drying Methods to Avoid Swirl Marks on Car Paint: Use an air blower or a good microfiber drying towel. Pat the surface dry instead of dragging the towel across the paint.
Choosing the Right Products for Swirl Mark Removal and Protection
There is no single answer for removing swirl marks. The best products depend on how bad the marks are and your level of experience. If you are a beginner, start with a good DA polisher and a mild polish. If you are more skilled, use a mix of compounds, polishes, and ceramic coatings to get a professional finish.
Common Mistakes to Avoid When Removing Swirl Marks from Car
I’ve made many mistakes, so here are some things to avoid:
Over-Polishing: If you polish too much, you can wear away the clear coat. This can cause damage that can’t be fixed. Always start with a gentle approach.
Skipping Cleaning Steps: Not using a clay bar before polishing can leave dirt on the surface. This dirt can cause more scratches.
Polishing in Direct Sunlight or on a Hot Surface: This can make the polish dry too fast. It then becomes harder to work with.
Conclusion
Removing swirl marks from your car is not too hard. With the right tools, steps, and some patience, you can bring back that shiny, like-new look. Remember, keeping your car clean is important. Good washing, drying, and care will help stop swirl marks from coming back. Keep your car looking great and enjoy the feeling of doing it yourself. Happy cleaning!
FAQs About Removing Swirl Marks from Car
Can swirl marks be completely removed from a car?
Yes, most swirl marks can be removed from a car’s paint. Use the right polishing methods and good products, like a dual-action polisher and quality compounds or polishes. But, deeper scratches may need professional paint repair.
How often should I polish my car to prevent swirl marks?
It depends on how you use your car and where you drive it. Usually, polishing once or twice a year is enough for most cars. Polishing too much can wear down the clear coat. So, balance care and protection.
Is machine polishing more effective than hand polishing for swirl marks on cars?
Yes, machine polishing is often better, especially for medium to deep swirl marks. Dual-action polishers keep the pressure and speed steady. This makes it easier to get a smooth, swirl-free finish.
What’s the difference between wax and ceramic coatings for preventing swirl marks?
Wax gives a short-term protective layer that makes the car shine but needs to be applied every few months. Ceramic coatings last longer and protect better. With proper care, they can last for years and keep swirl marks away.
Can swirl marks come back after polishing my car?
Yes, swirl marks can return if you do not follow proper washing and care steps. Avoid using automated car washes. Use the two-bucket wash method and apply protective coatings to keep a swirl-free finish.